DIY Tigger Costume
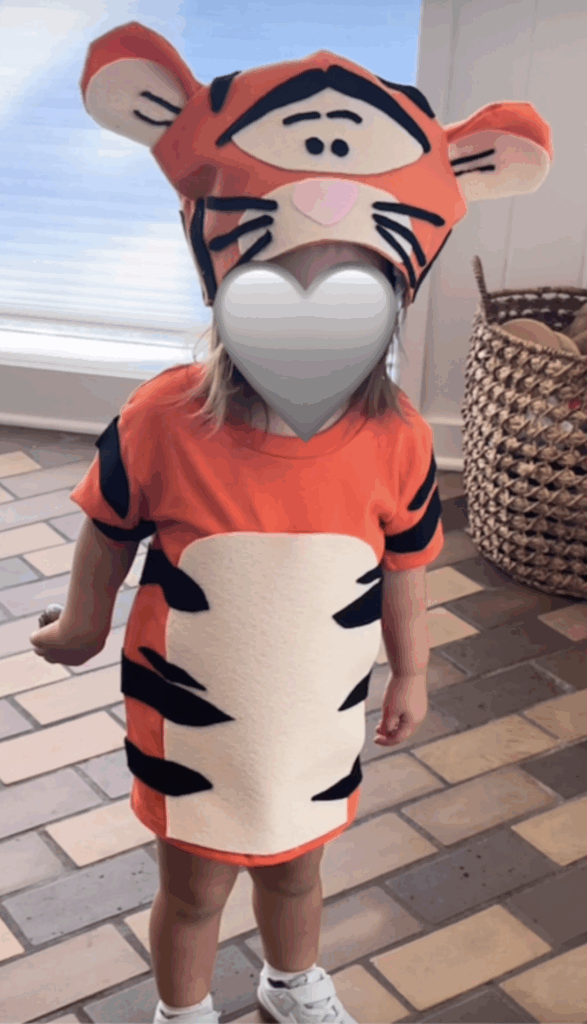
This DIY Tigger costume was one of my favorite projects to make! 🧡 It can seem complex, but it’s very doable with this step-by-step guide! The whole outfit is made with simple felt sheets, a plain orange shirt, and a few craft basics from Hobby Lobby — no sewing required.
Here’s exactly how I made it!
MATERIALS
– 1 plain orange shirt (Hobby Lobby)
– 1 sheet beige felt (Hobby Lobby has a $0.39 stiffer felt sheet or a $0.25 softer felt sheet, I used the stiffer one here) or beige fabric (for larger kids)
– Black sticky felt (soft 2-pack, not stiff single sheet)
– 2 sheets orange felt ($0.25 each, soft type for hat and ears)
– Extra orange felt for tail casing
– Hot glue gun and glue sticks
– Pipe cleaners (about 9 total for the tail)
– Elastic or belt (for tail attachment)
– Scissors


INSTRUCTIONS
1. Make the Shirt
– Start with a plain orange shirt. Cut a belly shape from a sheet of beige felt (or beige fabric if your child is older and the felt piece is too small). Hot glue the belly shape to the front center of the shirt.
– Next, cut black stripes from **soft sticky felt** (the kind that comes in a bag of two, not the stiff single sheets). Stick or glue the stripes onto the shirt. Repeat this step for orange shorts or pants if you want a full matching outfit. Here are the pictures of the shirt, remember that some of the stripes go from front to back!


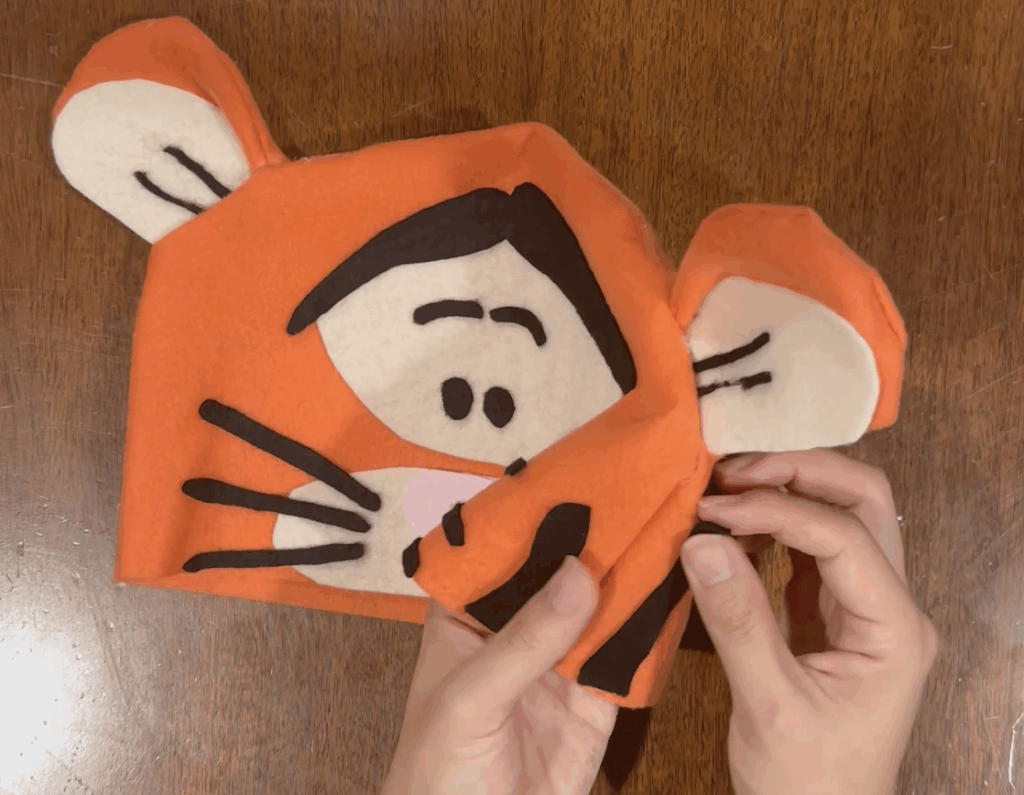
2. Create the Hat
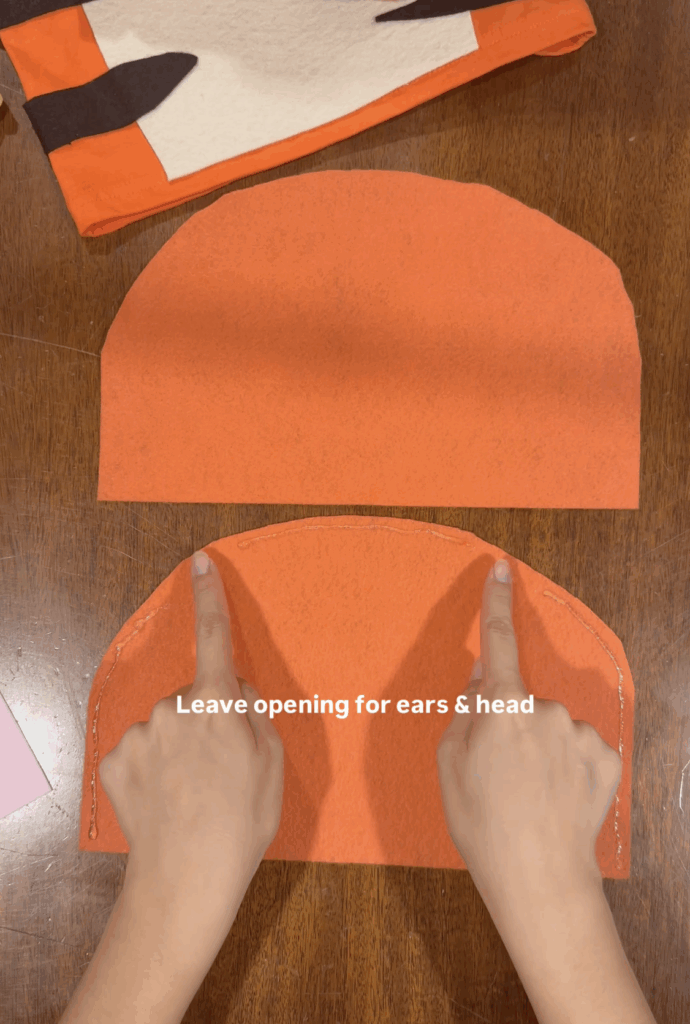
– Use two orange felt sheets (the softer $0.25 ones). Cut them into a hat shape that fits your child’s head, leaving space for the ears. Glue around the edges, leaving the bottom open for the head hole. Once dry, flip the hat inside out to hide the seams.
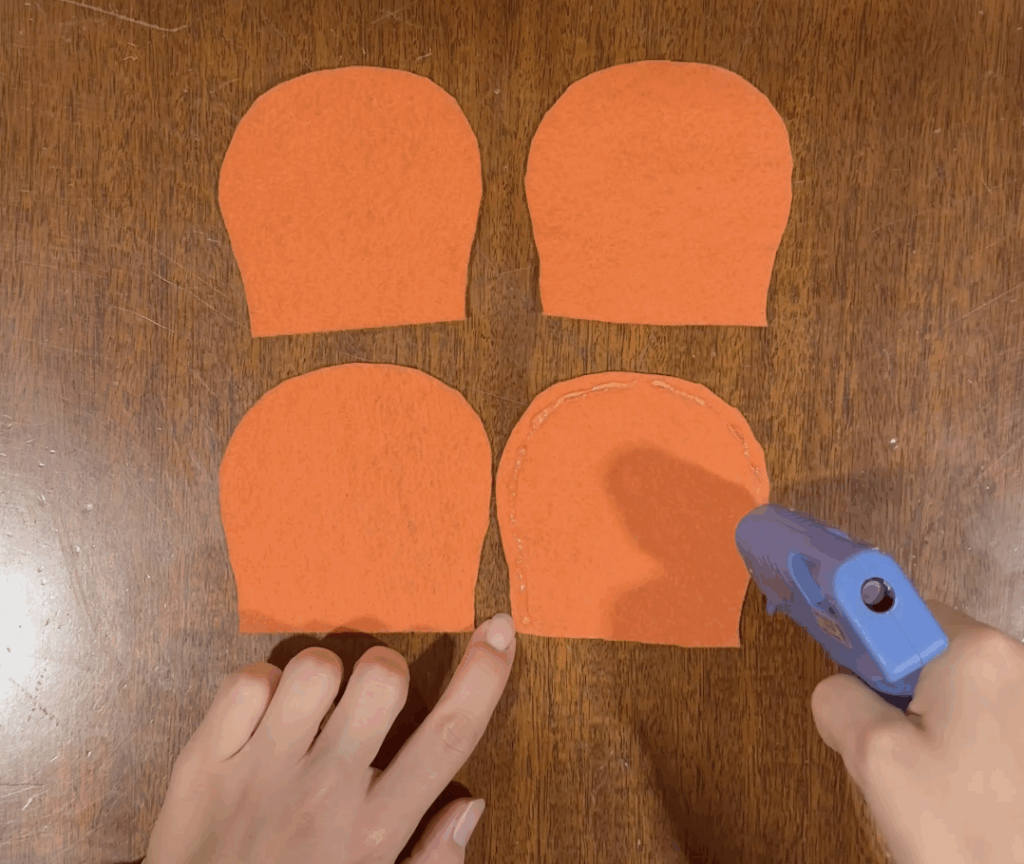
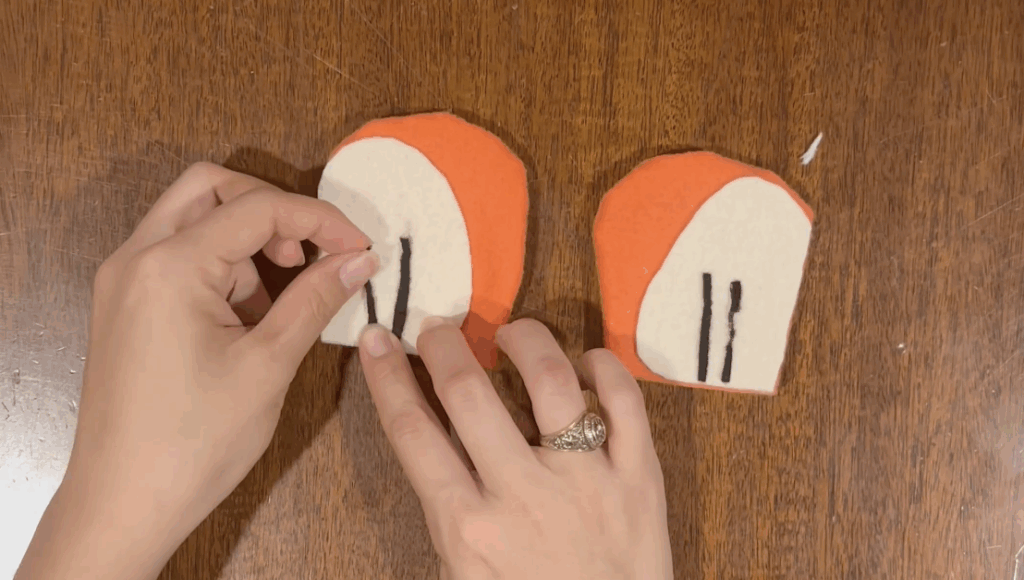
– For the ears, cut **four orange ear shapes** and glue two together for each ear. Flip them inside out to hide the seams. Add beige felt to the inside center of each ear and a few black felt lines for detail. Attach the ears to the hat using super glue.
– Then, cut and glue felt shapes for Tigger’s face onto the front of the hat (see picture below for a reference).
– Don’t forget to add black stripes to the back of the hat!


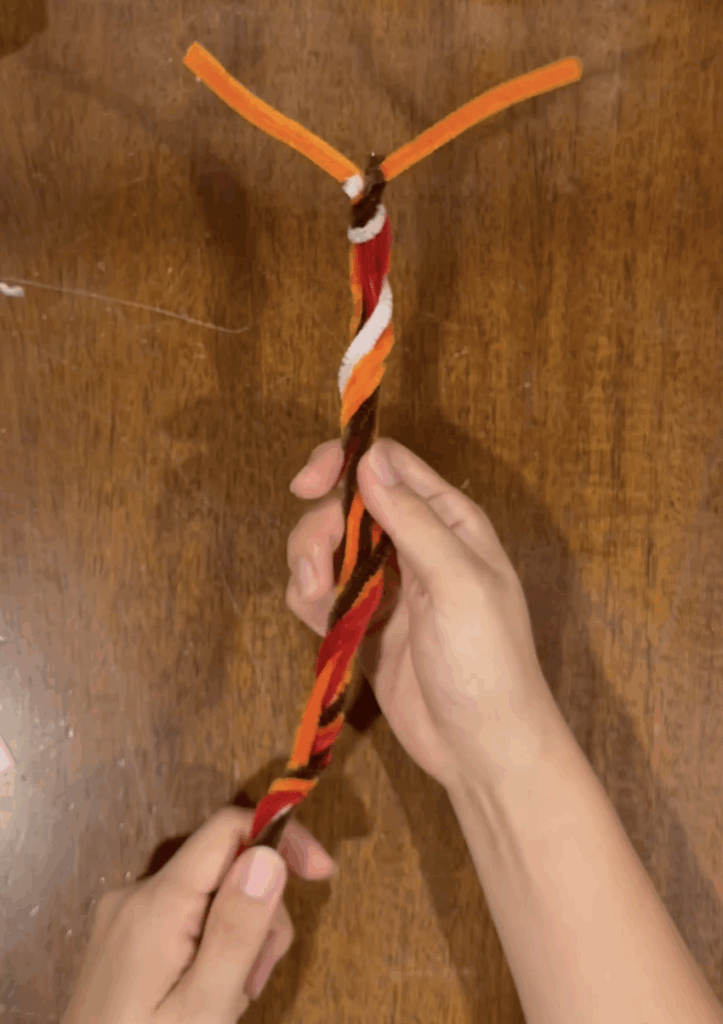
3. Make the Tail
– To make a bendable tail, twist about **nine pipe cleaners** together tightly. Leave two ends sticking out a little farther — these will attach to the belt or elastic later.
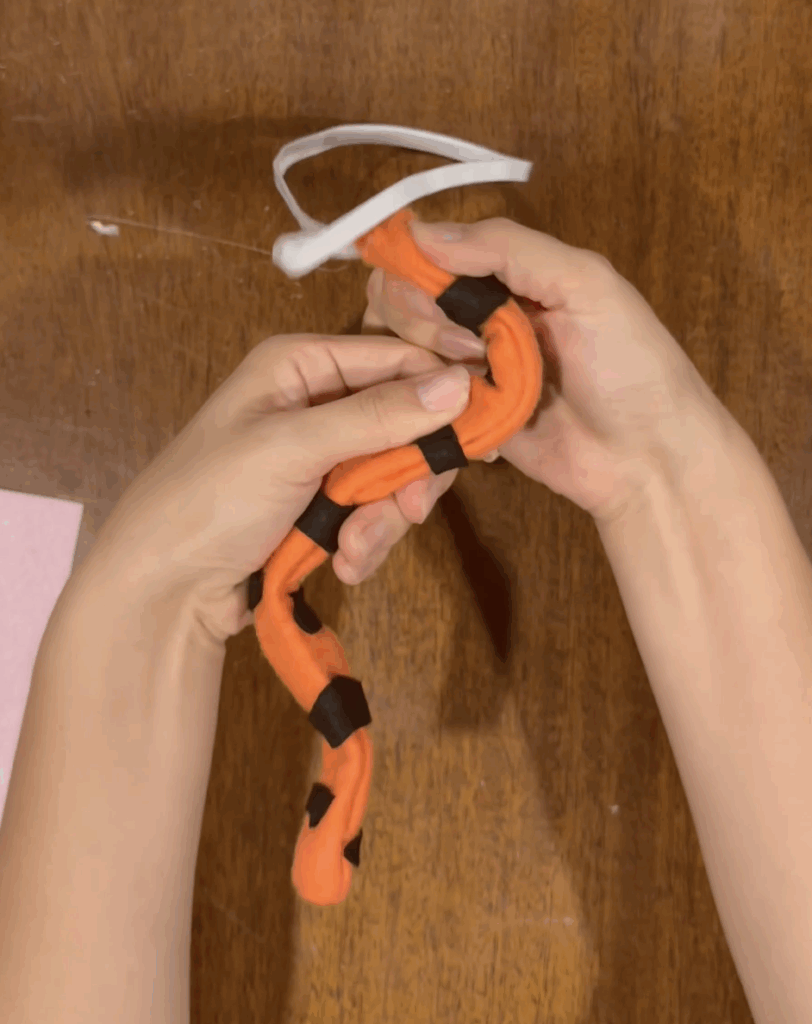
– Cut a long rectangle of orange felt to create the tail casing. Glue the edges to form a tube, then flip it inside out to hide the seams.
– Insert the twisted pipe cleaners into the casing. Leave the two extended pipe cleaners sticking out the end.
– Create a small **elastic loop** (or use a belt) that fits around your child’s waist. Wrap the two exposed pipe cleaners around the belt or elastic to attach the tail securely. Trim or tuck in any remaining pipe cleaner ends and glue the opening shut.
– Add black felt stripes to the tail, then bend it into the desired shape.

TIPS FOR SUCCESS
– Felt stiffness matters. Use the softer $0.25 sheets for the hat and tail — they’re easier to shape and more comfortable.
– Flip seams inside out. (I did this to make the hat shape, ears, and tail) It makes the costume look clean and polished.
– I didn’t here, but if you want some extra security, feel free to use super glue or felt glue too.
– Remember to reference actual Tigger when deciding on how many stripes you want! I looked at him a ton, so not a big deal to copy mine too!
CLOSING THOUGHTS
That’s it! A fun, handmade Tigger costume made almost entirely from felt — no sewing, no stress.
It’s light, flexible, and surprisingly durable for play or Halloween night.
If you make this, tag me on Instagram at @cheerstomonday. I love seeing your versions of these DIYs!
—
### SEO Meta Data
**Meta Title:** DIY Tigger Costume Tutorial – Easy No-Sew Kids Costume
**Meta Description:** Learn how to make a no-sew Tigger costume for kids using felt, pipe cleaners, and an orange shirt. Easy, affordable, and perfect for Halloween or dress-up play.
**Keywords:** DIY Tigger costume, kids costume idea, no sew costume, felt craft, handmade Halloween costume, DIY Disney costume, easy costume tutorial
*Originally shared by [@cheerstomonday] (https://www.instagram.com/cheerstomonday)*